High-Power Rocketry Level 1 Certification Flight

I launched my first-ever rocket last fall. You can read about that here.
Round two was in August. Every year, the Utah Rocketry club holds Hellfire, its biggest launch of the year, at the Bonneville Salt Flats. My primary goal for the launch was to obtain my NAR Level 1 Certification. That certification would qualify me to purchase and use class H and I motors. The requirements for the launch are pretty simple; all I needed to do was safely fly and recover a rocket using an H or I motor.
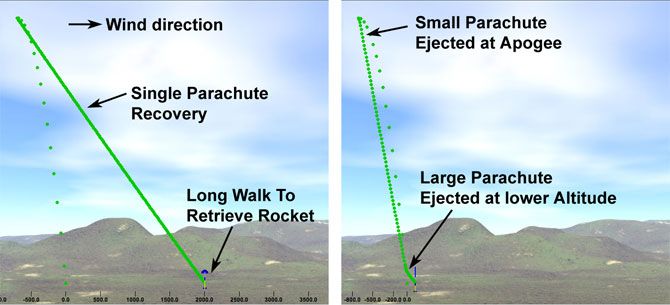
My secondary goal for the launch was to fly a rocket using a dual deployment recovery system. Dual-deploy rockets use two parachutes; the first is a small drogue chute deployed at apogee, and the second is a large main chute deployed when the rocket is much closer to the ground. This system allows the rocket to fall quickly for most of its descent, and then slow to a safe landing speed before it hits the ground. The reduced descent time limits the distance that the rocket can drift, making retrieval much easier. Without dual deployment, a rocket that goes sufficiently high can drift miles before it lands. For rockets going above a few thousand feet, dual deployment becomes a virtual necessity to successfully recover the rocket.
This was my first time putting together a dual-deployment rocket, so I had a lot of learning to do. I saved time in putting together my avionics bay by purchasing this kit from Always Ready Rocketry, the same supplier I used for my rocket's airframe. The kit included pre-cut pieces for my AV bay, so I just needed to assemble it and secure my battery and altimeter inside.
The rest of the rocket was designed using OpenRocket, an open source rocket flight simulator. The nosecone was plastic, fins were laser cut from plywood, and the airframe was made of Blue Tube, a kind of reinforced material produced by Always Ready Rocketry for high-power rockets.
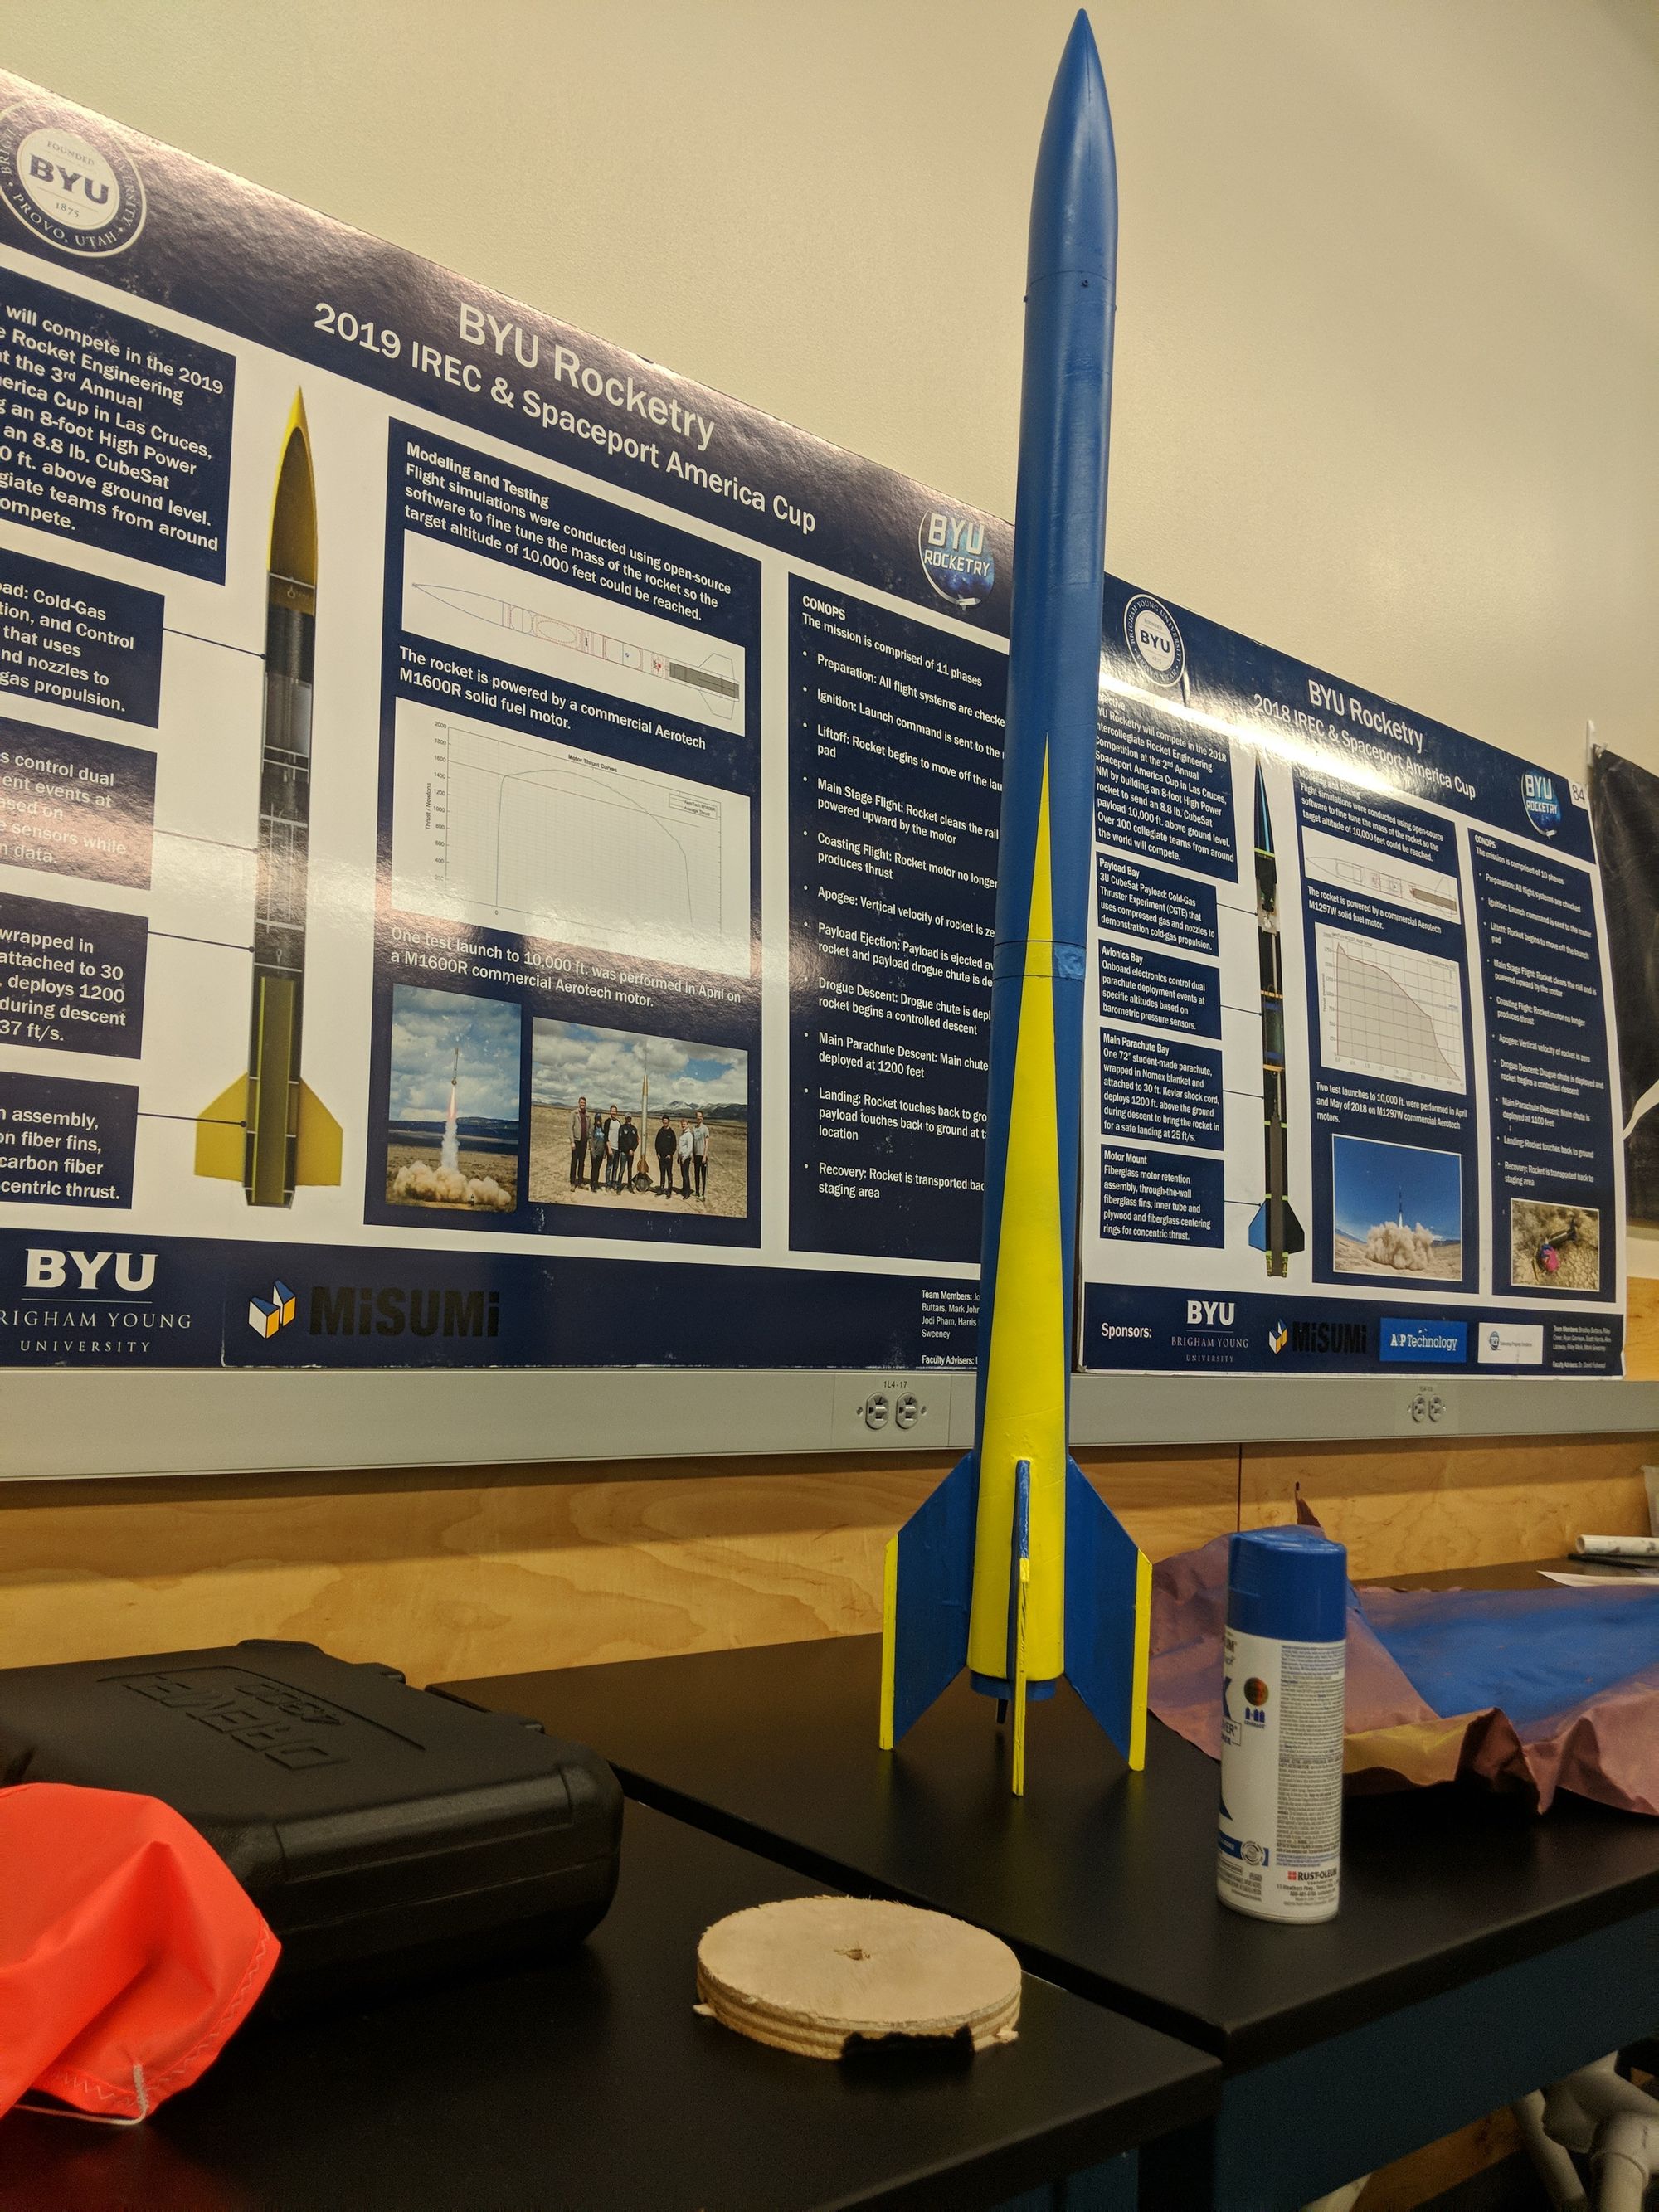
Here's the finished product:
On the first Friday in August, I headed out with some friends to the Bonneville Salt Flats to launch. Unfortunately, the first launch didn't go quite as planned. The parachutes didn't deploy fully, and the rocket came down like a lawn dart. When I pulled it out from where it had partially buried itself, I took an unintentional core sample of the salty ground. Who knew my rocket flight was going to become a science experiment?
By the time I retrieved my rocket, the time window for the launch was over for the day. But I took my rocket over to the vendor and rocketry hobbyist who sold me the motor I used, and he helped my analyze the failure. Here's what went wrong:
- I used a combination of tape and shear pins to secure the separation point where my main chute was going to deploy from. I didn't want it to separate prematurely. Unfortunately, it worked a little too well and my rocket wasn't able to separate quickly enough for the parachute to deploy fully.
- I used a relatively thin shock cord, which I mounted along the inside of the airframe. When the main chute did deploy, it "zippered" (tore through) a few inches of my body tube.
Unfortunately, I didn't get a picture, but there was pretty significant damage. Despite that, the technician I spoke to was confident I could fix the rocket in time to have a successful flight by the end of the last day of the launch window. He urged me to come back in the morning so that he could help me prepare to fly my rocket again. I took his advice. Here's what I did to ensure a successful second flight:
- I cut off the torn section of my body tube.
- I used both the built-in motor charge and secondary black powder charges controlled by my flight computer. The redundant systems ensured that even if my electronics failed, my rocket would separate and deploy the parachutes it needed for a safe descent.
- Instead of using both tape and shear pins to secure my rocket, I only used tape. The looser connection made the charges much more likely to separate my rocket in time for the parachutes to deploy.
- I changed the motor I was flying from a powerful class I motor to a tamer H motor.
After a few hours of hard work, my rocket was ready for another go.

The rocket flew beautifully, and I got my certification.
If you're interested, here is an article by Lottie Johnson about my experience with the Hellfire launch. In the future, I plan to fix up the rocket a little more, repaint it, and take it for a third flight in order to get my Level 2 certification. Next time, I'll be sure to check my rocket before flying it. I learned from this flight that there is almost always someone more experienced than me that is willing to help out, if I just ask. Getting it right the second time is a great learning opportunity, but getting it right the first time is a lot less expensive.
~
Note: If you liked this post and want to read about my latest shenanigans with BYU Rocketry, you can find the latest updates here.